NBA 2K24: How to Reset & Recreate Your Face on MyPlayer
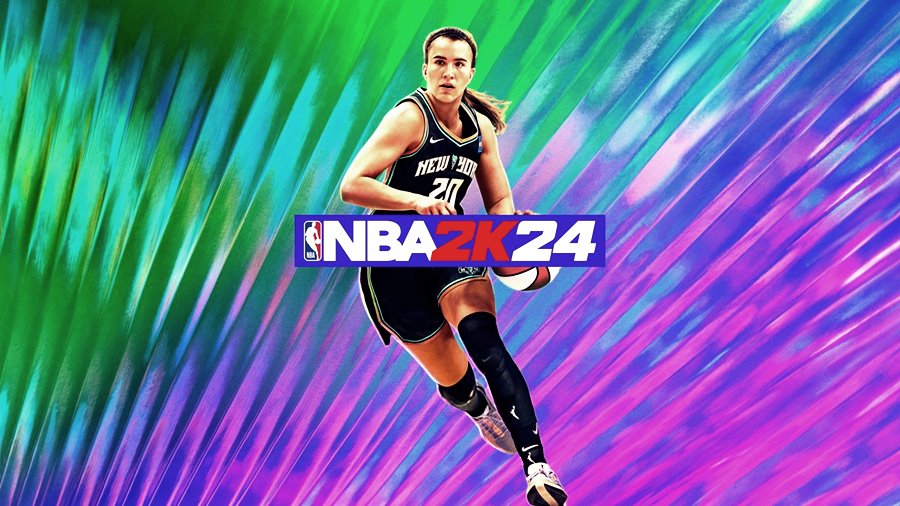
NBA 2K24 isn’t just about virtual basketball – it’s about immersing yourself in the show, with your own face leading the way. That’s right, the MyPlayer face scan feature lets you dive into the virtual shoes of a basketball superstar. Pretty cool, right?
But there might come a time when you look at your virtual self & think, “Hmm, I could use an update.” No worries, NBA 2K24 has your back. Let’s walk you through a detailed step-by-step on how to refresh and improve your face on MyPlayer in NBA 2K24:
Ready, Set, Game:
Start by powering up your console and letting NBA 2K24 load up. Once you’re in, look for the ‘MyPlayer’ option in the menu. Select that, and then navigate to ‘MyPlayer Appearance’. This is your starting point!
Scanning Your Face:
Start by downloading the NBA 2K24 face scan app. Choose the icon of the gaming console you’re using (PS or Xbox) and sign in to your account. Tap the face button to take a photo and accept all the “grant access” requests for it to proceed.
Perfecting Your Scan:
Ensure your face is perfectly placed within the oval area on the app. Look directly at the camera and turn to your left and right slowly. The app will take 14 photos of your face. Once finished, choose the clearest frontal shot and upload all the images. Don’t worry if there are any errors – you can just try again.
Customize Your Appearance:
Once you’re in ‘MyPlayer Appearance’, you’ll see several options. No need to worry. Look for the ‘Appearance’ tab – it’s right there in the top menu. Click on that, and you’re set!
Choosing Your Head:
You’ll find an option that looks like a wireframe head. Its location might vary in your head selection list. Once you find it, go ahead and select it. If you’re on PlayStation, you’ll be pressing square. For Xbox players, X is your button.
Uploading Your Picture:
Now, it’s time to upload your photos onto your custom head. Wait as the game shapes your face. Once you’re done, and a green icon appears, pat yourself on the back. You’ve done it!
Resetting & Recreating Your Face:
If you’re unhappy with your character’s appearance, don’t worry. Instead of resetting it, you can upload a new picture. It’s easier and much quicker.
Fine-Tuning:
With your face now on the screen, it’s time to customize. From your hair to your skull shape, eyebrows, eyes, ears, facial hair, and skin tone – you have full control! Experiment with it, take your time, and keep adjusting until your digital twin looks just right.
Save Your Changes:
You’ve worked hard, you’ve adjusted, you’ve perfected your virtual self. The last thing to do is to make sure your hard work sticks. Click ‘continue’ and then ‘save’. This confirms your changes and readies your new avatar for the game.
Helpful Face Scan Tips:
To ensure the best face scan, remember to clean the lens of your phone and close all background apps. Opt for a place with ample lighting and clean your facial hair. After the scan is uploaded, you can make minor adjustments instead of repeating the entire process. If possible, ask a friend to take photos using the rear camera of your phone.
And that’s all there is to it!! Your NBA 2K24 MyPlayer avatar should be looking like it’s ready to steal the show and outperform the opposition. You’ve officially put your face in the game. Now, it’s time to play – out there on the virtual court! Show them what you’re made of!


