Ready or Not: Ultimate Beginner’s Guide – Tips & Tricks to Get Started
There is no shortage of FPS games, but none resemble the finesse and realism offered by Ready or Not. Developer VOID Interactive took things to a whole new level when they started consulting police teams all over the globe to create Rules of Engagement (RoE) that are challenging, realistic, and also playable in a video game setting.
The RoE and the scoring system are the best among any tactical shooter in the gaming community. The developers even integrated ricochet, ballistic penetration, projectile expansion & momentum, and kevlar plate dynamics into the game. There is a lot to cover given how complex the game is, and in this guide, we’ll be discussing the basics so that you have everything you need to start playing as soon as you’ve finished installing it.
Getting started: Familiarising yourself with the lobby
At the start of the game, you can select the lobby type from the main menu. Once you have selected a lobby (which is always located in the Los Suenos police headquarters), you can roam around freely among its many rooms, where each room serves a purpose, such as:
- The Map Table – This is where you can select missions. Walk over to the table and press the use key. A map will open up highlighting possible mission locations. As of writing this article, there are six maps in the game.
- Locker Room or Quartermaster – Allows you to access and customize load-outs. If you are a solo player, then you will also be able to modify the combat kit of all your AI officers.
- Gun Table – Let’s you customize the currently equipped weapon.
- Kill house or Range – A place where you can test out your weapons.
Mission types: Least to most difficult
As of writing this blog, you can access six maps and two test levels. Once you’ve selected a map, you will be able to choose one of the five available mission types.
| Mission type | Difficulty | Description |
| Barricaded Suspects | Easy | Strict Rules of Engagement. Your top priority is to rescue civilians and detain suspects. You are not authorized to kill unless a civilian or an officer is threatened. You are required to arrest all suspects for a higher score. |
| Raid | Normal | Rules of Engagement are loosened because suspects are more dangerous and will rarely give up. There are also more suspects than civilians, and you’ll need the practice to prepare yourself for prolonged engagements and extended firefights. You are not required to arrest suspects for a higher score. |
| Active Shooter | Hard | Race against time as an active shooter roams the building, killing hostages in a frenzy. Your goal is to apprehend him before too many casualties. |
| Bomb Threat | Very Hard | You’ll be answering to a bomb threat—first mode with multiple priorities. First priority is to disable the explosive before the timer runs out. The second priority is rescuing all the civilians and taking out the suspects. They have usually located nearby the bombs. |
| Hostage Rescue | Insane | Toughest game mode requiring strategy and flawless execution. The suspects have taken a room full of civilians hostage. Approach without notifying the suspects and be prepared to engage from all angles because they will start killing hostages once they spot you. |
Engagement tips: Increase your chances of winning
- Use Chem lights to mark rooms – In addition to being a source of illumination, chem lights also help you mark rooms you’ve already scouted/cleared while going through a building. Even if you are familiar with the building layout, chem lights are a source of information. For instance, if two teams are storming the same building, dropping a chem light in a room will let the second team know that it’s already been checked.
- Increase your movement speed with low ready – Ready or Not does not have a sprint option, which makes sense since it is a tactical shooter. You can move a bit faster by toggling on ‘low ready,’ which lowers the gun. I am sure you’ve seen CS: GO players switching between knife, primary, and secondary weapons, just to increase their movement speed. ‘Low ready’ offers a similar mechanic, and instead of switching the gun, you simply lower it.
- Take advantage of corners with freelean – Freelean is like an evolved form of leaning across corners. You have to press the Alt + directional keys to peak freely around corners and move around or even crouch while you’re still learning. It’s much faster and gives a better tactical advantage when scouting dangerous hallways and peaking into rooms.
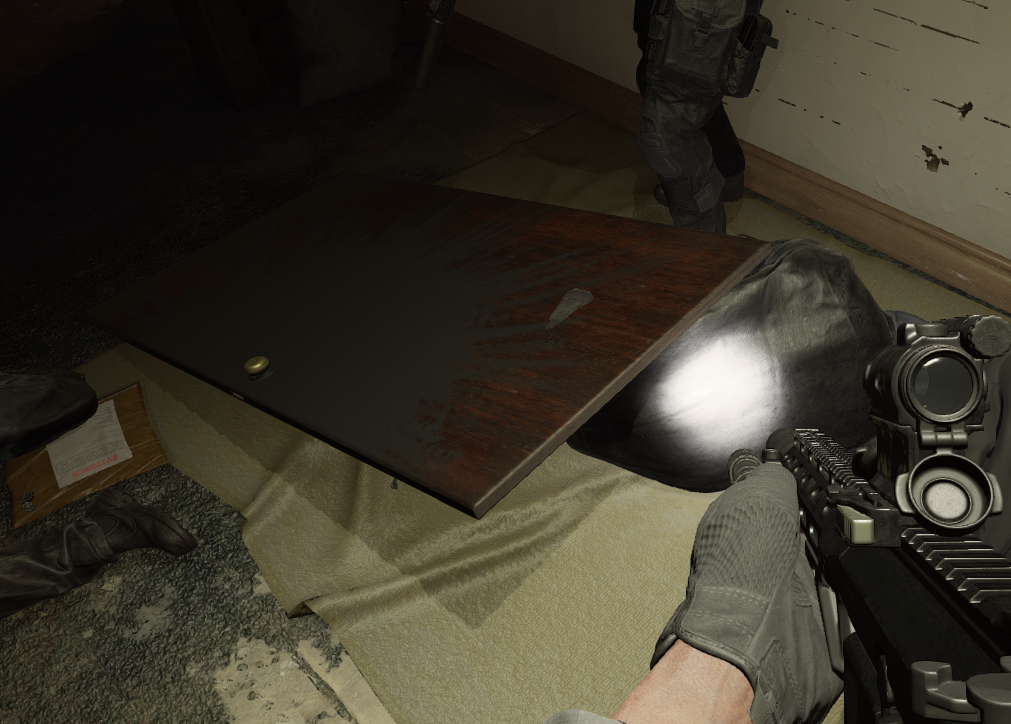
- Avoid boobie traps – Sometimes, doors are boobie trapped with grenades. So, when you are scouting, always use the mirror cam to look under the door for potential traps. If you find one, use a lockpick to unlock the door and ‘peek’ through. Upon crouching, you will ‘equip wire cutter’ prompt. Cut the wires to disable the traps before barging in.
- Take advantage of helmet cams, but not too often – Tapping T brings up the helmet cam, which offers a superior tactical advantage, especially when you have multiple teams clearing a building. However, the hamlet cam causes severe FPS drops, so use it sparingly.
- Utility is your best buddy in capture missions – Ready or Not boasts a generous collection of utility items, including flashbang, taser guns, stinger grenades, gas, bean bag shotgun; all of these serve a purpose. You can clear entire floors without using the main gun if you know what you’re doing.
- Killing is not the only option – The Rules of Engagement in the game prioritizes capture over killing unless the hostages or officers are mortally injured. So to get that S rank, you’ll have to capture suspects, and the best way to do it is to make them comply. Use pepper ball, bean bag, and a taser to force suspects into complying and only put them down if they resist.
- Underrated but still useful – Compared to the rest of the arsenal, door wedges may not seem like much of a deal-breaker, but they do prevent unsuspecting criminals from entering a room and could even buy some precious seconds, long enough to apprehend them. They are also reusable so keep one in handy, just in case.
- Use multiple C2 breaching charges to overwhelm the suspects – Ready or not allows you to put up multiple C2 charges and detonate them all at once. So if a room has multiple entryways, consider rigging all the entry points and place an officer on each door. This way, you can rush the room from all angles and minimize the casualties.
Parting thoughts
If you are a fan of tactical shooters or if you want to experience the gut-wrenching anxiety SWAT police units undergo while confronting and defusing hostile situations, give Ready or not a try. The game is still in early access, so there are bound to be a few bugs, but the realism offered in the game is worth all the effort. Happy hunting!


