Toy Tinker Simulator: Beginner’s Guide, Tips & Tricks
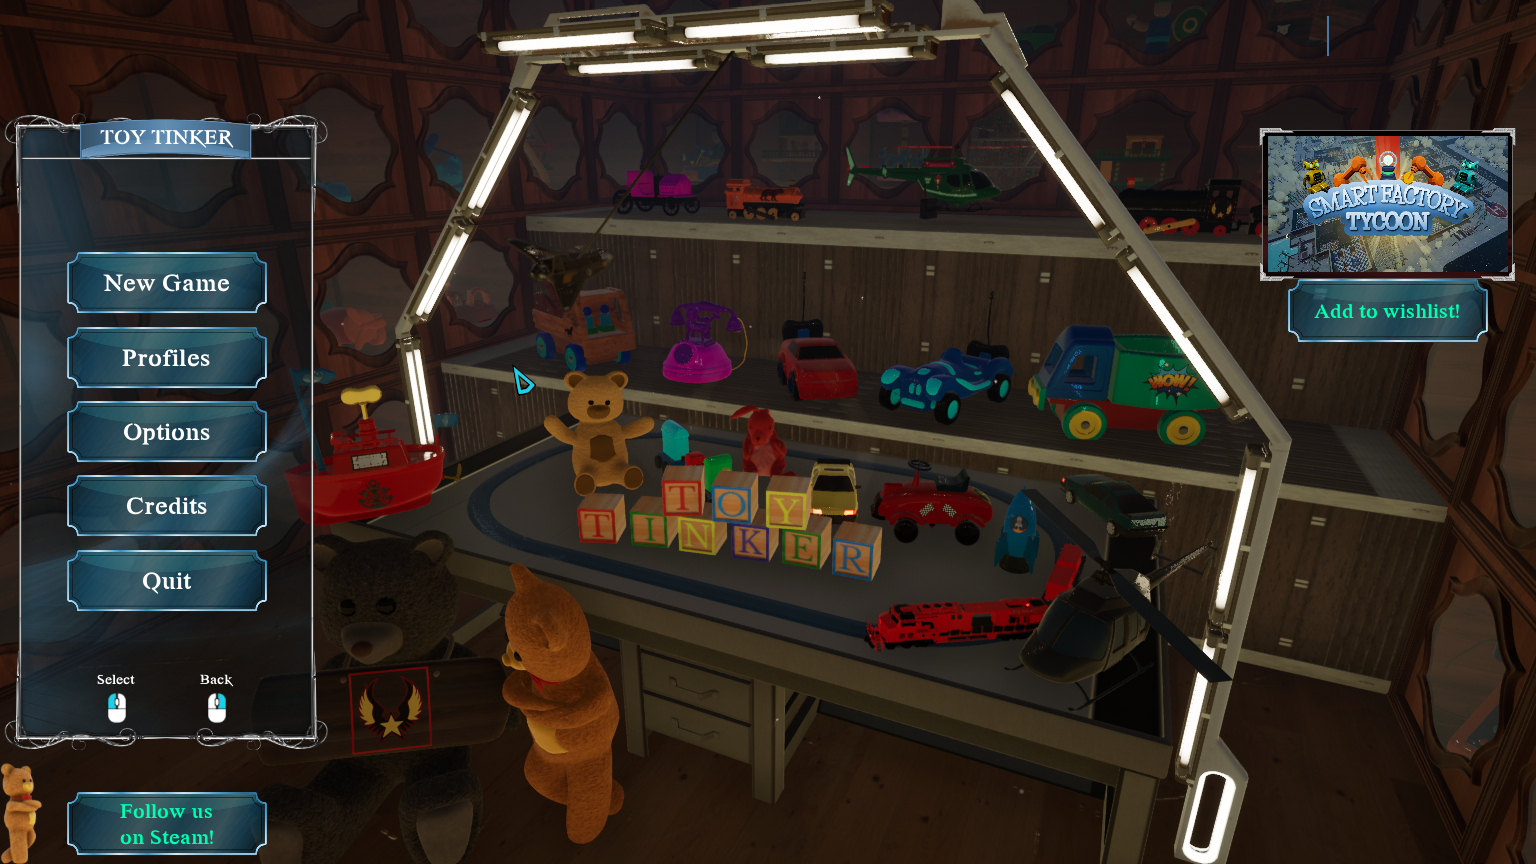
To all toy enthusiasts out there, you’re missing out. The popularity of simulator games is on the rise. The chances are that every real activity now has a simulator to mimic it in the digital realm, and Toy Tinker is an expert in that field. In it, you own a popular online establishment where you buy/take in old rusty toys, renew/repair them and sell the whole thing for a small profit.
The game also comes with manually changeable music tracks, like an MP3 player, and there are quite a few that are worth listening to.
Toy Tinker may seem like a random simulator with average graphics and janky controls, but it’s more than that. Playing the game at length sometimes feels a tad bit meditative and calming. Not all of you may agree with that sentiment because of its easygoing nature. But at its core, Toy Tinker is quite a relaxing game.
However, the beginning of the game can be a bit confusing, so here is a simple guide to help you navigate the initial bends and corners until you get the hang of it.
Gameplay
The game consists of two interfaces, the laptop and the workbench. The laptop is where you buy stuff and get projects, and the workbench is where the magic happens. Each system comes with a different set of controls, as you’ll learn in the following sections.
Laptop
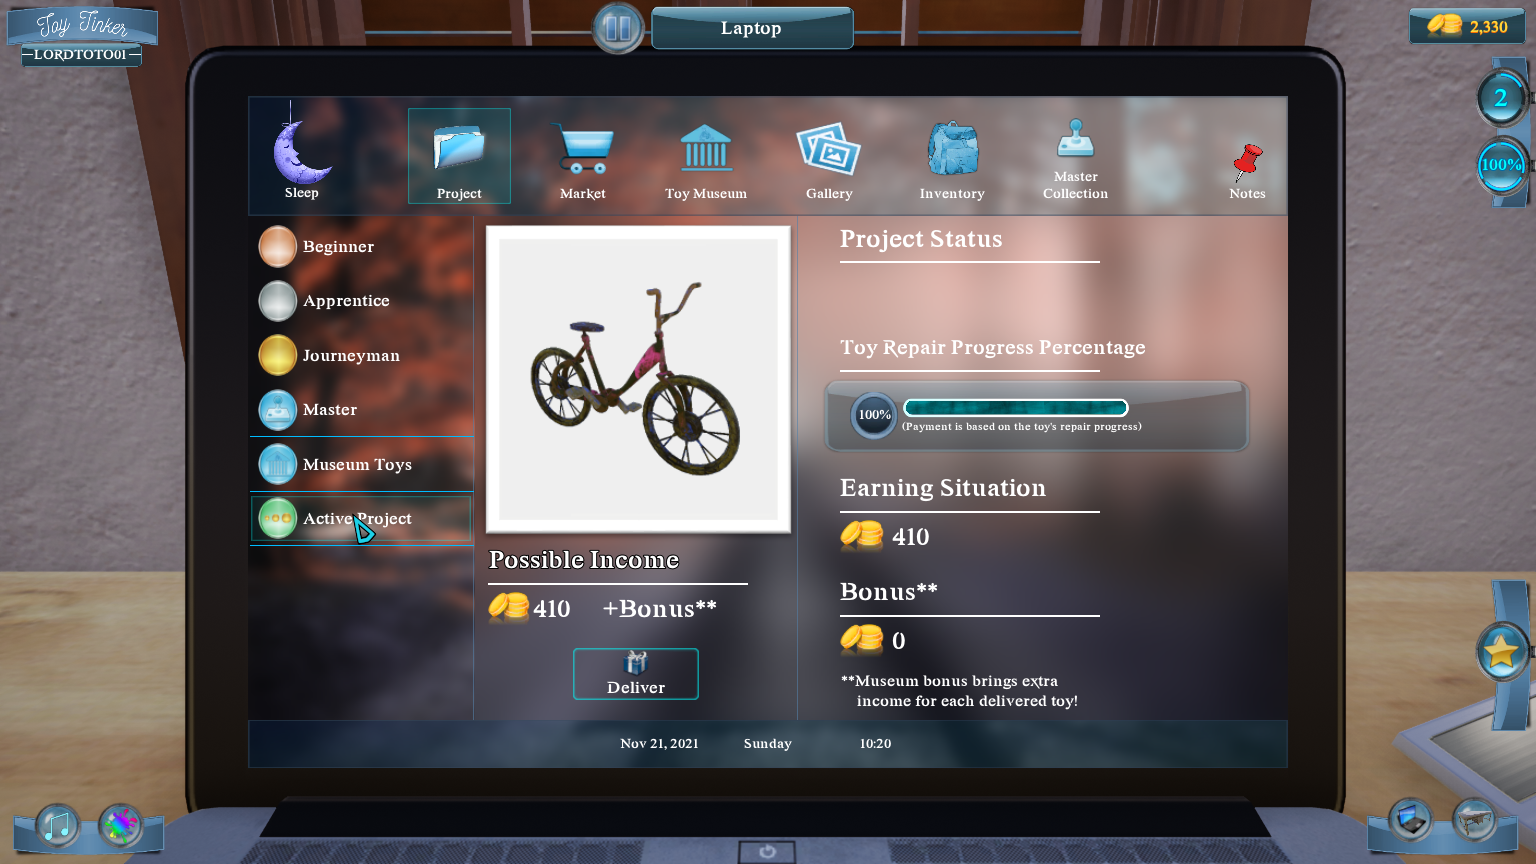
The laptop is where you buy stuff and keep track of all your work progress.
- Sleep – Takes you to the next room—nothing to do much there.
- Project – This is where you accept toys to work on. There are four levels of difficulty: Beginner, Apprentice (level 5), Journeymen (level 10), and Master (level 25). Higher levels are unlocked as you level up by refurbishing old toys. Higher-level toys contain more moving parts and require a wide variety of tools and machines to fix.
- Market – Everything you need to fix your toys is right here. From screwdrivers to paint, the market has everything you need to do your job.
- Museum – The museum contains special toys to be put on display. You receive more customers and a higher payout by putting toys on display. The first museum is unlocked, and you’ll have to buy the rest with the money you earn from repairs.
- Gallery – After each successful repair, you’ll have to take a picture and send it to the customer. Every toy you ever fixed will appear in your gallery.
- Master collection – The master collection does not unlock until you reach level 25. It contains all the master-level toys you’ve fixed.
Workbench
This is where you take stuff apart and prepare them for further processing. Look at the cursor hovering over the faucet icon. That indicates the middle portion of the bicycle needs cleaning. There are several types of equipment that you have to later in the game for more complicated repairs. You need the nickel plating equipment to apply the element over the metal parts of a toy. Printers create custom stickers for toy parts, and a sanding block smoothens the wooden parts of a toy.
Higher-level toy parts may need several treatments. For instance, after washing a part, you may need to paint it and then apply stickers. The workbench is where you take apart everything for repairs and assemble them again once everything is done.
Tips and Tricks
- Shopping efficiently – You cannot accept a toy until you have everything that’s required to fix it.
If you do not have a specific part, simply click on the red pin icon to post it in notes. So that you can refer to it the next time you visit the ‘market.’
- Save time – Buy a few things in advance, such as detergents, paints, varnish, and sponges. They have a single unit of durability which means they can be used only once. Having copies saves you from taking multiple trips to the market.
- Project selection – You can only have one active project at a time. Until you’ve submitted your current project, you cannot get another one. So be careful when taking apprentice-level or above projects, at least for the first time. Some of them require advanced equipment. You might not have enough money left to buy the necessities after accidentally sinking all of it into the equipment.
- Money management – Always start with the cheapest items on the list and work your way up towards the expensive stuff, and make sure to have at least 2000-3000 coins in your wallet after making all of your purchases.
Parting thoughts
With a sense of progression, tons of things to learn, wide toy variety, showcase, Toy Tinker Simulator is a game worth your time. It’s easy to learn and never loses its charm even after hours of playing through. The steady stream of gameplay might appear a tad mundane to some players, but that’s the case with all simulators and not Tinker in particular.
Give the demo a try, and Feel free to share any tips we missed in the comments below. We look forward to hearing your thoughts on Toy Tinker Simulator.


