Cataclismo Beginner’s Guide: Top Tips for New Players
This game throws you into a tough world, but don’t freak out. The tutorial gives you the basics, but staying alive in Cataclismo involves much more. Let’s look at some key tips to help you set up a successful settlement.
Building Tips
Stop the Clock When Building
Building happens right away so always stop the game when you put up anything. This gives you plenty of time before night comes. Take my word for it, stopping the clock is your best bet. When the game’s not moving, you can take down and put up important buildings without causing things to fall apart. If enemies break through your walls, stop the game and build another wall a few blocks away from them.
Smart Exploration
Exploring is as key as setting up defenses. You can often find salvage that gives you loads of wood, stone, minerals, and even oxygen. Always reuse materials you used to move through the mist to get the most out of them.
Oxygen Management
Oxygen is vital in Cataclismo. Build air filters to keep production higher than upkeep costs. If your oxygen runs low, it will affect your ability to train new units, build, and buy upgrades. I always make sure my air filters are working at full capacity.
Stacking Structures
Construct tall walls to get extra defense bonuses and do this for the houses of citizens too. Make use of the big flat areas on shack and homestead roofs to pile up more housing units or air filters. Keep room for stairs so you can keep building upwards if you don’t have much space.
Optimal Unit Placement
Units do the most damage either when they’re low down (0 to 4 meters) or up high (5+ meters). Make areas where both types of units can stay and do as much damage as they can. When you reach Prosperity level two, use windows to strengthen walls no matter how tall they are.
Advanced Building Techniques
Spiral Staircase
When constructing tall towers, employ stone half arches and switch each piece clockwise. Place a straight stone chair atop every arch to create a spiral. This technique enables you to build higher than simple block stacking. It’s challenging at first, but you’ll grow to enjoy it once you master it.
Scenery Management
Tear down scenery ruins instead of building on them to steer clear of problems with defensive layouts. Level ruins to build lasting defensive walls but draw inspiration from their layouts. It may look wasteful, but it pays off in the long term.
Resource Management
Resource Gathering
Collect wood from sawmills, stone and minerals from quarries, and oxygen from air filters. Put warehouses near gatherers to cut down travel time and boost productivity. Mist fuel needed for advanced units, is scarce and must be collected from specific areas with a mist condenser.
Storage and Productivity
Construct warehouses to expand storage capacity and air silos for more oxygen storage. Use the air trader building to swap oxygen for other resources when needed. I always make sure to build air silos as soon as they become available.
Military Structures and Units
Basic Units
Let’s start with Bowman, lobbers, and captors. Bowman have an impact on single targets with high damage (they work best at 5+ meters), lobbers cause area damage (they excel at 0-4 meters), and captors use nets to slow down enemies (they perform best at 0-4 meters).
Advanced Units
Hunters and cannoneers are better versions of Bowman and lobbers. Hunters hit harder and have a longer range (10+ meters), while cannoneers affect all targets in their damage zone (0-4 meters). Partisans and ballistas stand out as the toughest units, with partisans causing major damage to single targets and ballistas delivering strong area damage.
Defensive Strategies
Merlons and Windows
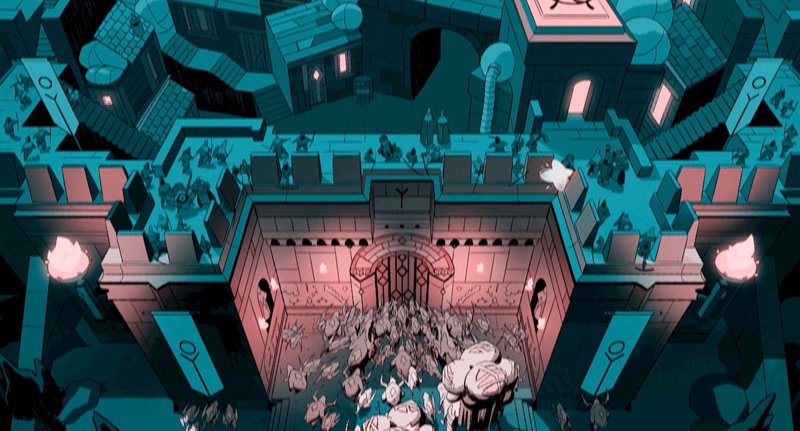
Build merlons to boost range and windows to strengthen defenses on top. Put units behind banners to increase damage and use buff blocks for extra effects like poison and fire arrows.
Wall Design
Make walls with at least three stone layers and build them four blocks high. Use leftover resources for traps and walls that divide to slow down enemies and shield your units. I tried many wall designs, and this setup works best for me.
Additional Tips
Use Citadel
The Citadel provides crucial improvements and includes built-in stairs making it an ideal location to place air filters. Use beacons to expand your build zone and access faraway resources. The Citadel serves as the core of your defense so don’t ignore it.
Effective Housing
Construct houses in groups instead of rows stacking them to conserve space. Install air filters and stairs to connect everything. This approach proves productive and allows you to handle limited space more.
Adjusting to Challenges
Try out different building heights and layouts if a wave doesn’t work. Taller walls or extra layers in front might strengthen your defenses. If something doesn’t do the job, feel free to test a new approach. I’ve had to build my defenses from scratch more times than I can remember, but that’s what makes it enjoyable.

